
A Comprehensive Guide to Accurate and Professional Compressor Installation
Installation, Safety, and Long-Term Performance
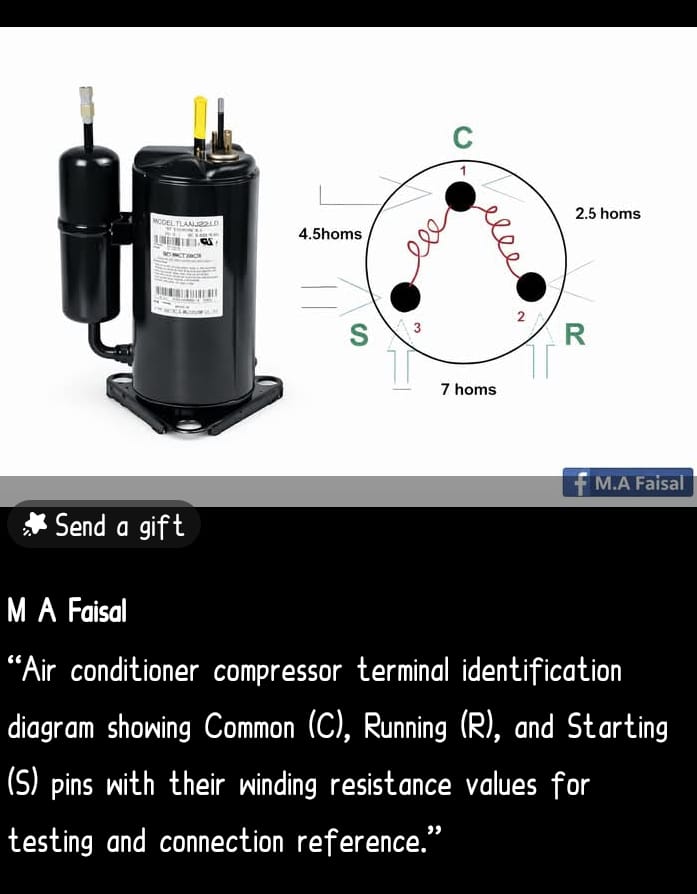
Compressor installation requires careful planning, quality materials, and professional techniques to ensure safety, energy efficiency, and long service life.
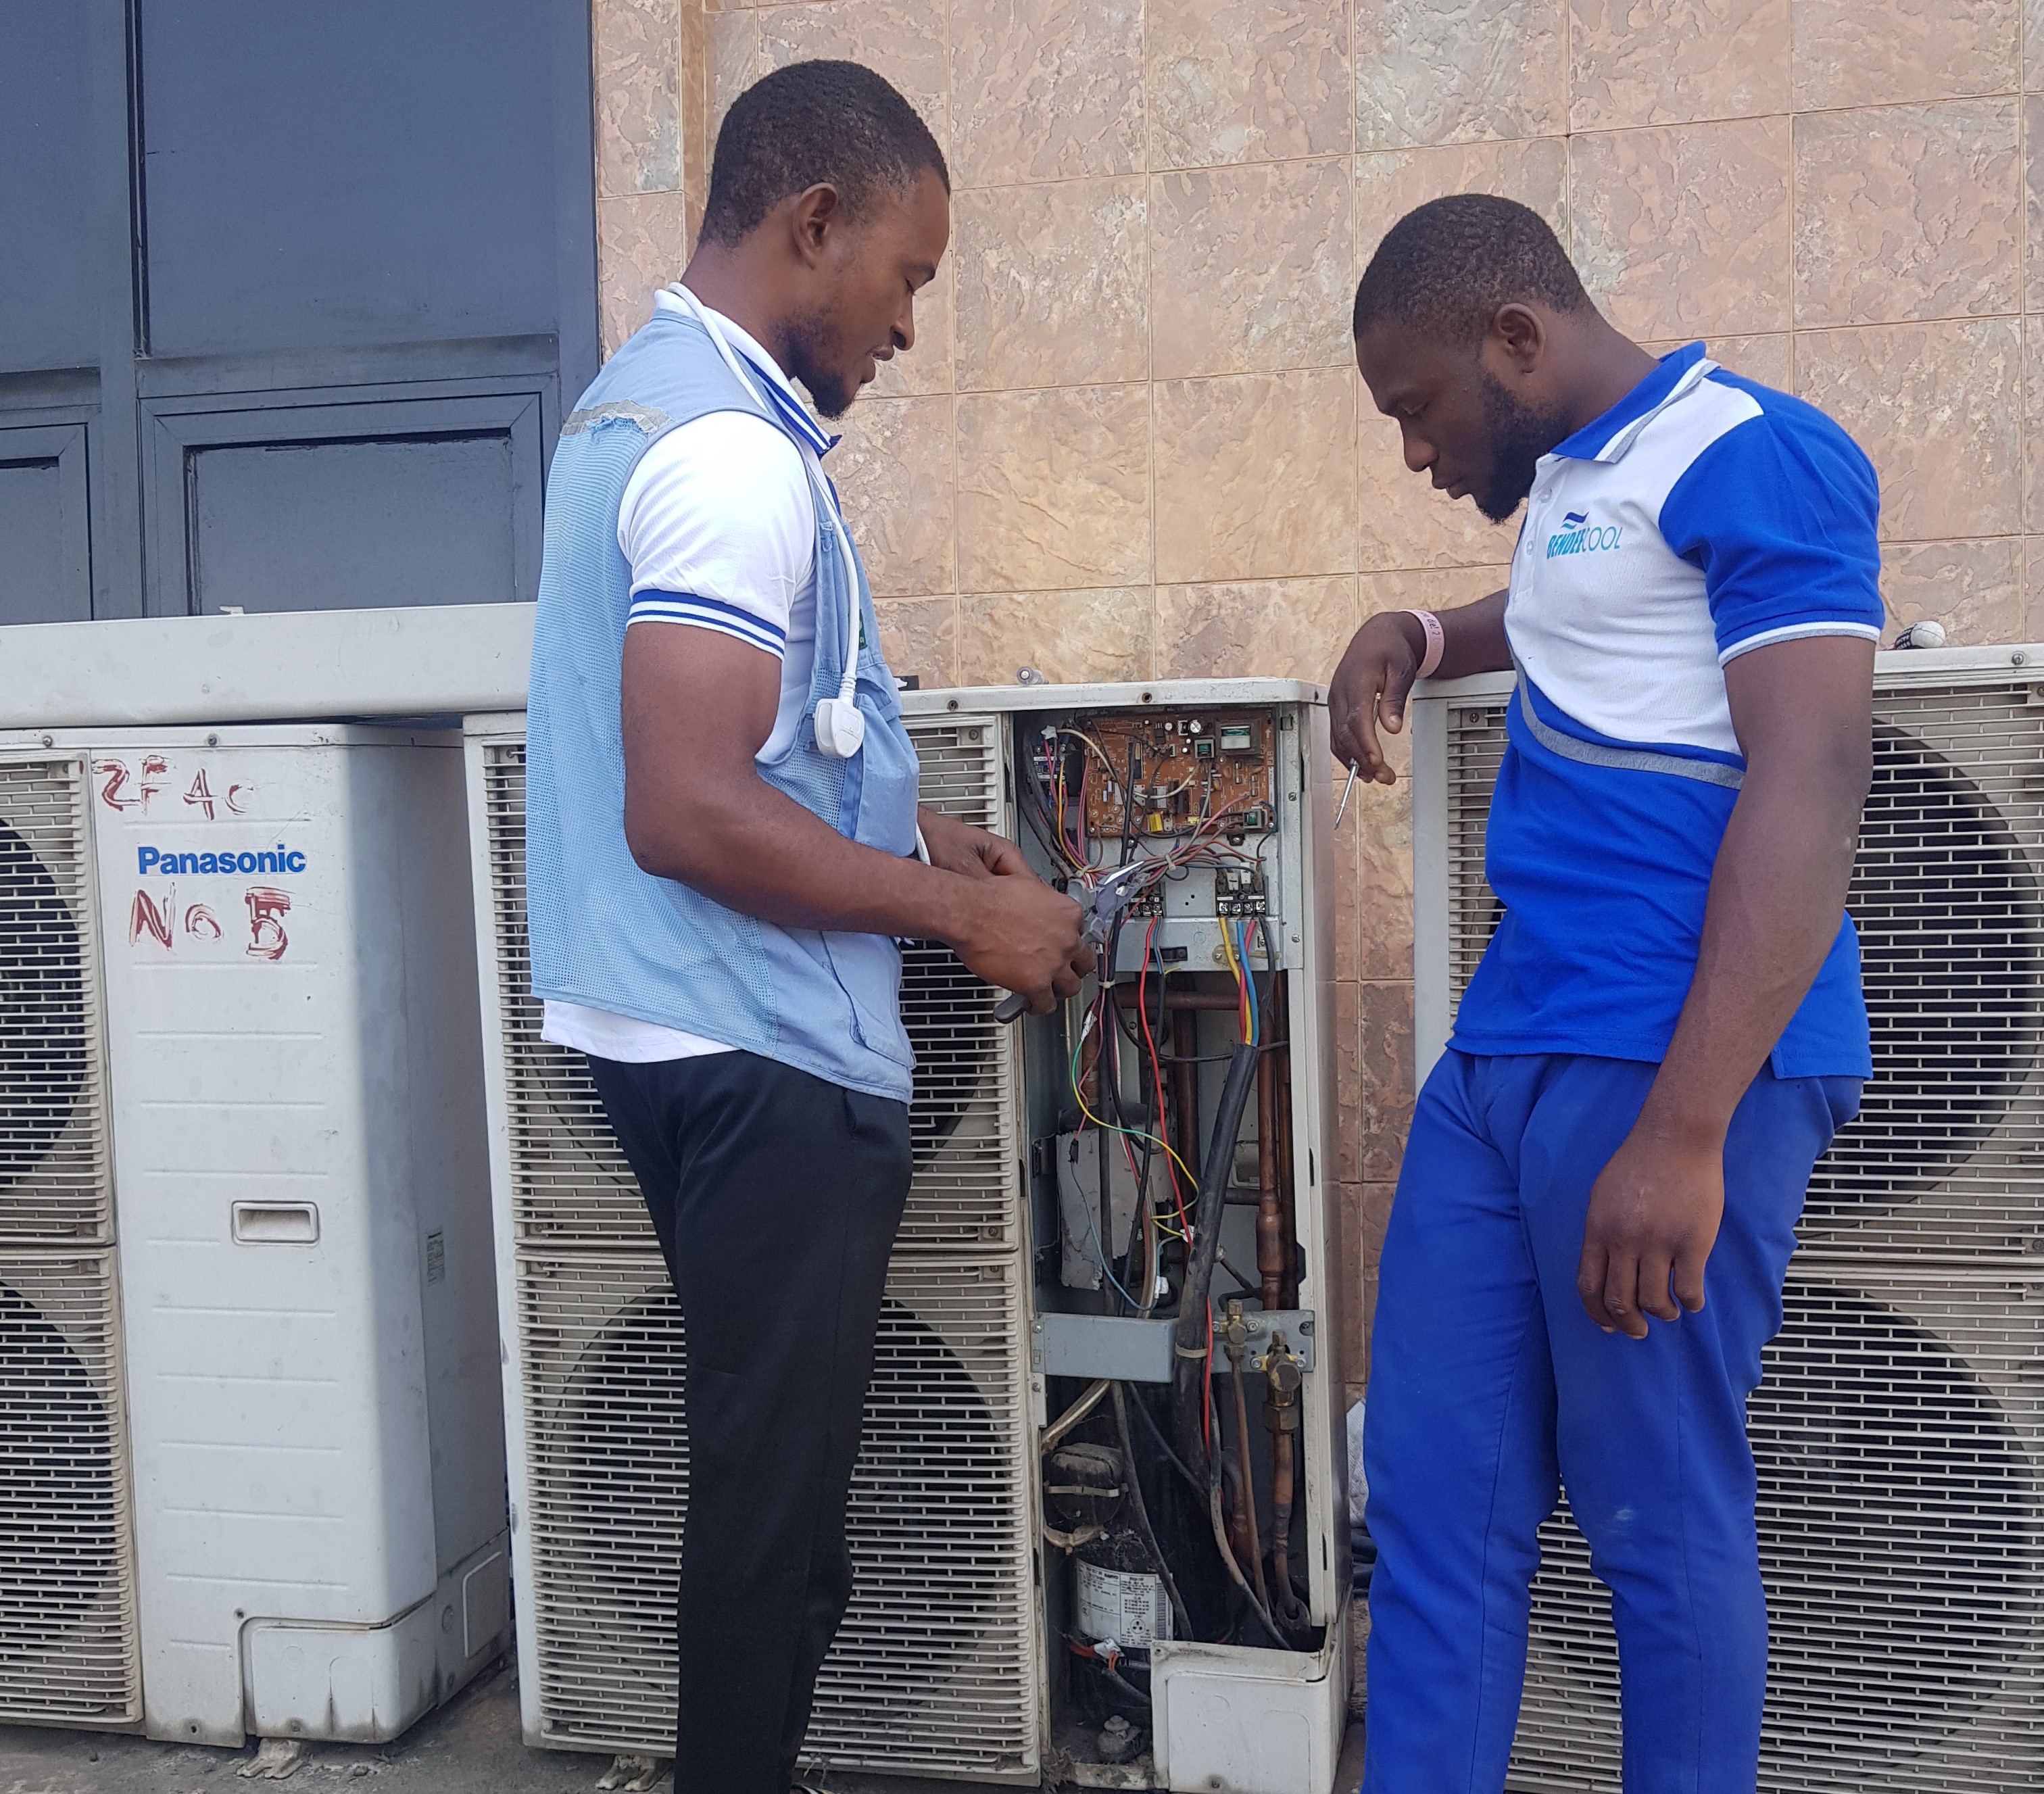
1. Pre-Installation Preparation
Inspect the installation site, ensure proper ventilation, use a stable foundation, verify electrical requirements, and gather all required tools and PPE.
- Level foundation
- Adequate airflow
- Dedicated circuit breaker
- Correct wire size
2. Inspection
Inspect the compressor for transport damage and confirm all components match the manufacturer's specifications.
3. Positioning
Mount the compressor securely, use vibration pads where necessary, keep it level, and leave enough servicing clearance.
4. Plumbing and Piping
Install suction and discharge lines correctly, insulate them properly, and perform a nitrogen leak test before charging refrigerant.
5. Electrical Connections
Follow the manufacturer's wiring diagram, ensure proper grounding, and install a nearby disconnect switch.
6. Refrigerant Handling
Vacuum the system thoroughly before charging with the correct refrigerant. Avoid overcharging or mixing refrigerants.
7. Testing
Check pressure, temperature, vibration, noise level, electrical consumption, and cooling performance before commissioning.
8. Documentation
Record the compressor model, serial number, refrigerant type, operating pressures, and installation date.
Conclusion
Following professional installation practices improves reliability, reduces maintenance costs, and helps the compressor deliver years of dependable service.
Comments
Share Your Thoughts
Recent Comments